About The Project
In this project we drew six 3D objects in a program called Inventor. We were told to draw the six shapes, take a picture of each one, and then walk you step by step on how to build one of the shapes. The project was very easy for me because last year I took a class called IED. In this class we worked with Inventor for the entirety of the second semester. Because of this I was able to easily draw all six shapes with little to no problems. Below are pictures of the six shapes.
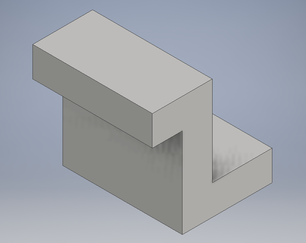
This is a picture of the first widget that I drew. This
as the easiest of all six to draw because all you had
to do was draw the shape, dimension it and then
extrude for it to be done.
as the easiest of all six to draw because all you had
to do was draw the shape, dimension it and then
extrude for it to be done.
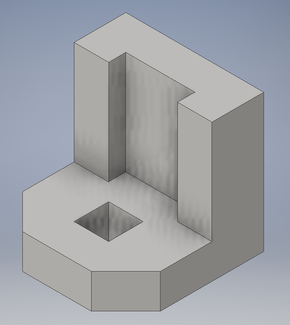
This is a picture of the second widget. This one was
also easy to draw. The main two differences from
this on and the first on is that there is a measurement
that is 1/8 instead of 1/4. The other thing is that I had to
extrude a hole in the base. But again, pretty easy.
also easy to draw. The main two differences from
this on and the first on is that there is a measurement
that is 1/8 instead of 1/4. The other thing is that I had to
extrude a hole in the base. But again, pretty easy.
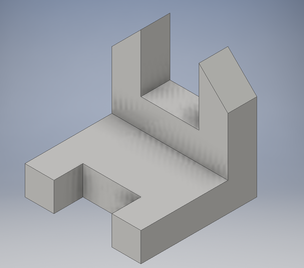
This is a photo of the third widget. It was another easy one.
The most difficult part was getting the triangle shaped
pieces,to the shape of triangles. And to get them to the right size.
Other than that though, not a problem.
The most difficult part was getting the triangle shaped
pieces,to the shape of triangles. And to get them to the right size.
Other than that though, not a problem.
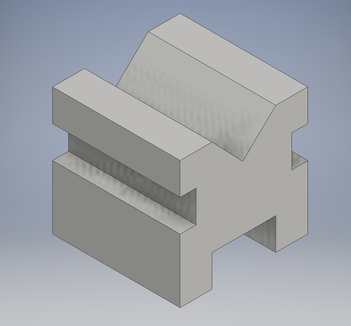
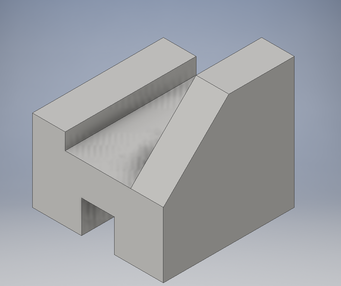
This is a photo of the fourth widget. This was the one that I 3D printed, it was also the one that, in my opinion was one of the most difficult. It was difficult because in the top of the M shape it was difficult to get the slants in the right place and position. I will walk you through how I built this one in detail. After I explain the other widgets.
|
This is a picture of the 5th widget. This one was also another easy one. The only part that was somewhat difficult was it had a portion that was half of the box, but that was a simple fix. Other than that, this was another easy one.
|
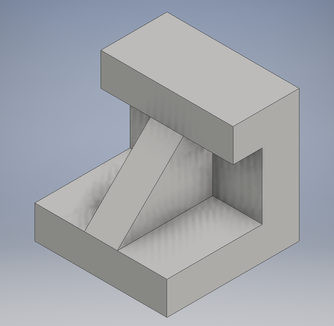
This is a photo of the sixth widget, this was the one that gave me the most trouble. It was difficult because of the triangle shape in the middle. For a long time I couldn't figure out how to get that triangle, but eventually I figured it out and got it done.
How I Built Widget 4
Below are pictures of the drawings that eventually ended up drawing widget 4
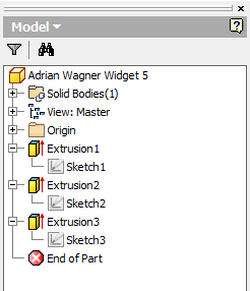
This is a photo the recipe bar of widget 4.
It's basically walking you through how I
made widget 4. It says widget 5 on the bar
but I labeled it wrong.
It's basically walking you through how I
made widget 4. It says widget 5 on the bar
but I labeled it wrong.
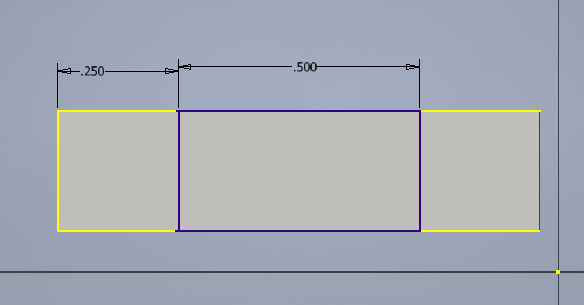
This is a photo of the sketch that made
the base of the widget.
the base of the widget.
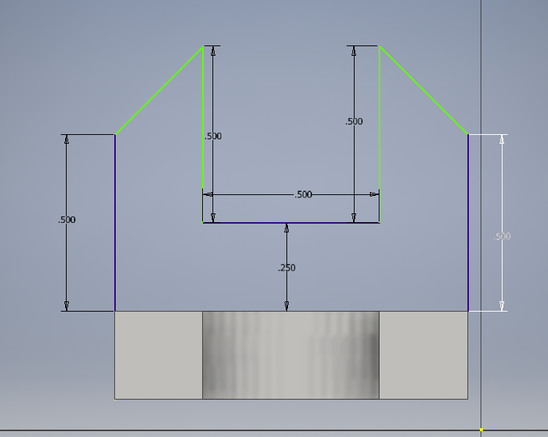
This is a photo of the sketch that made
the extrusion up
the extrusion up
Those were the sketches that drew widget 4. Underneath are the picture of the MakerBot, the MakerBot in progress, the final result of the 3D Print
MakerBot
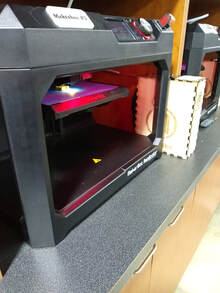
This is a photo of the MakerBot.
MakerBot In Action
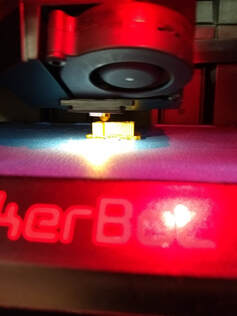
This is a photo of the MakerBot in
action, it is printing my widget.
action, it is printing my widget.
